02Jan
How to draw a child's portrait?
|
A good starting point for drawing people is the head and face. The shapes are fairly simple, and the proportions are easy to measure. And portraiture is also very rewarding. You can feel a great sense of satisfaction when you look at a portrait you've drawn and see a true likeness of your subject, especially when the model is someone near and dear to you. So why not start with children? Drawing a Child's PortraitOnce you've practiced drawing features, you're ready for a full portrait. You'll probably want to draw from a photo, though, since children rarely sit still for very long! Study the features carefully, and try to draw what you truly see, and not what you think an eye or a nose should look like. But don't be discouraged if you don't get a perfect likeness right off the bat. Just keep practicing! |
|
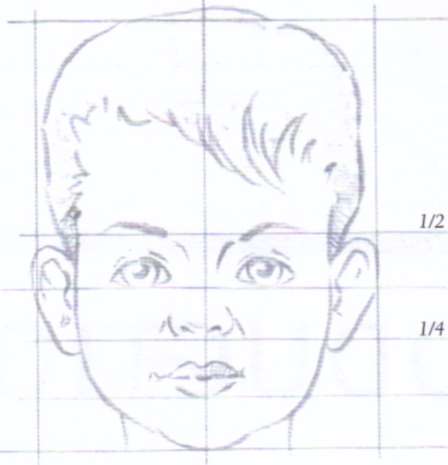 |
Understanding a Child's ProportionsDraw guidelines to divide the head in half horizontally; then divide the lower half into fourths. Use the guidelines to place the eyes, nose, ears, and mouth, as shown. |
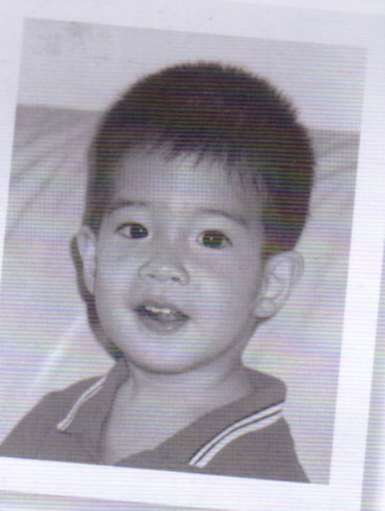 |
Starting with a Good PhotoWhen working from photographs, some artists prefer candid, relaxed poses over formal, "shoulders square" por traits. You can also try to get a closeup shot of the face so you can really study the features. |
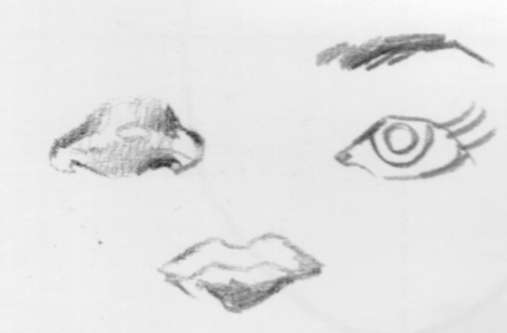 |
Separating the FeaturesBefore you attempt a full portrait, try drawing the features separately to get a feel for the shapes and forms. Look at faces in books and magazines, and draw as many different features as you can. |
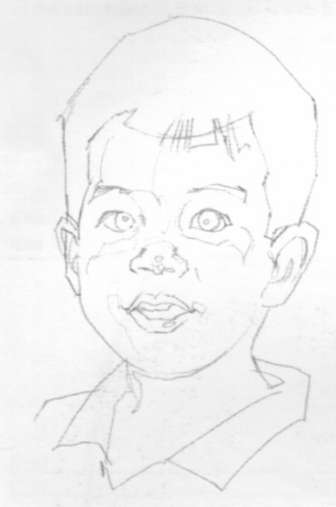 |
Sketching the GuidelinesFirst pencil an oval for the shape of the head, and lightly draw a vertical center line. Then add horizontal guidelines according to the chart at the top of the page, and sketched in the general outlines of the features. When you are happy with the overall sketch, carefully erase the guidelines. |
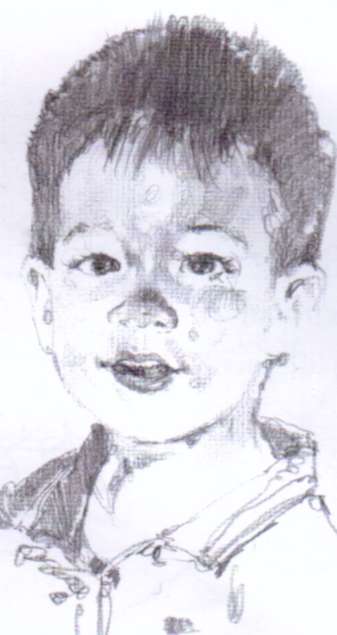 |
Finishing the PortraitWith the side of my pencil, start laying in the middle values of the shadow areas, increasing the pressure slightly around the eye, nose, and collar. For the darkest shadows and the straight, black hair, use the side of a 2B and overlap your strokes, adding a few fine hairs along the forehead with the sharp-pointed tip of my pencil. |


